
Using EKIO with an AV Receiver via HDMI
The HDMI output from a personal computer can be utilized as an 8-channel LPCM 24-bit-192 kHz digital output. It can be connected to your existing AVR, which will serve as a multi-channel DAC and amplifier. This tutorial describes how to filter sound from Windows applications using EKIO and send the result to an AVR via the HDMI output.
Before you begin, ensure that the driver for your HDMI port is installed and working correctly. Connect your AVR to your computer with an HDMI cable and disable audio processing on the receiver.
You need to perform the following procedure once, as the settings will be saved for future use:
- Install the following software:
- Choose a sample rate for the entire configuration. In this example, we will use 48000 Hz.
-
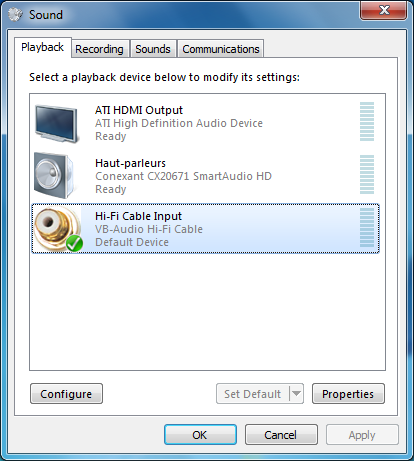
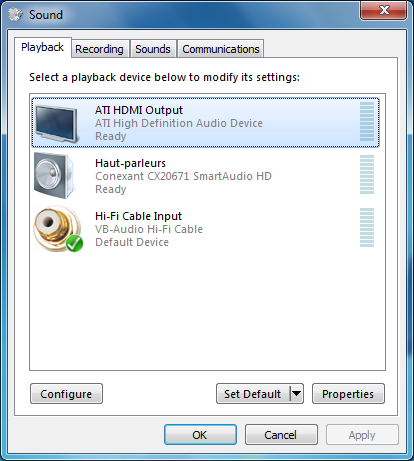
In Windows Sound Manager, set Hi-Fi Cable Input as the default Playback device.
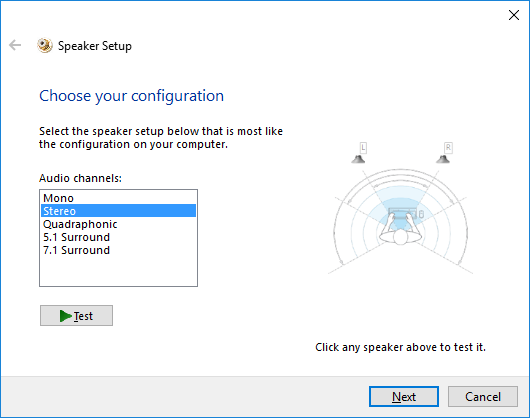
Click on Configure, select the number of inputs needed: stereo.
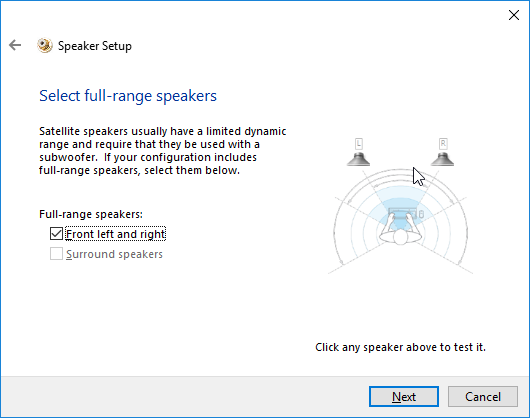
Click Next and define all speakers as full range.
-
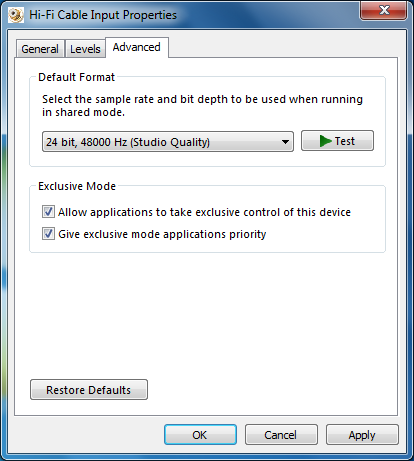
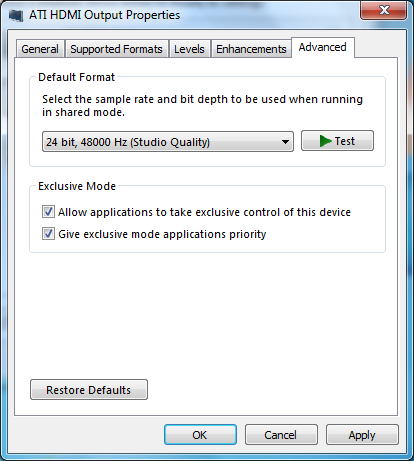
In Windows Sound Manager, select HifiCable Input and click on Properties. Go to the Advanced tab and select the following format : 24 bit, 48000 Hz (use the samplerate that you chose at step 2).
-
Do the same for the HDMI output. Select HDMI Output and click on Properties. Go to the Advanced tab and select the following format : 24 bit, 48000 Hz (use the samplerate that you chose at step 2).
-
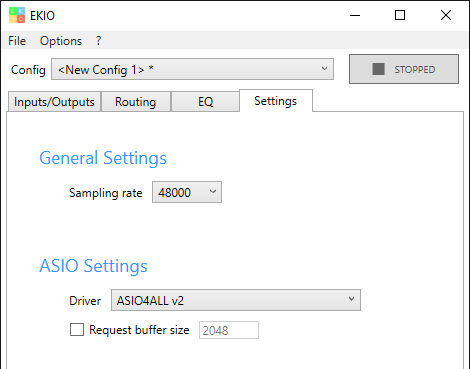
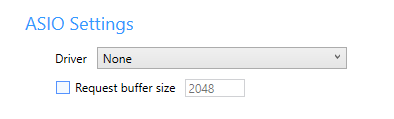
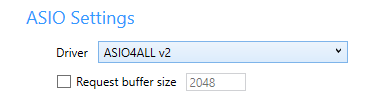
Run EKIO and create a new config by clicking File/New. In the "Settings" tab, select the chosen sample rate and the ASIO4ALL driver.
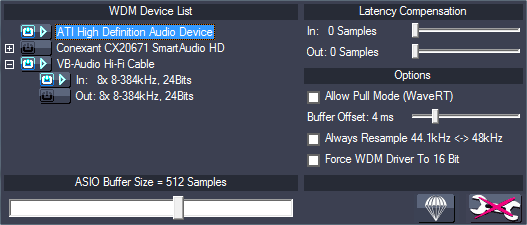
- Open the ASIO4ALL configuration window by clicking its icon in the system tray:
 . Click the spanner located in the lower right of the window to activate the "Advanced Options."
 -
Select the VB-Audio Hi-Fi Cable inputs and the HDMI output. When you select a line, select its header too or it won't be taken into account. Uncheck all of the other lines. VB-Audio Hi-Fi Cable outputs must NOT be selected.
For the changes to take effect, restart the ASIO4ALL driver by switching to the None driver and then selecting ASIO4ALL again.
-
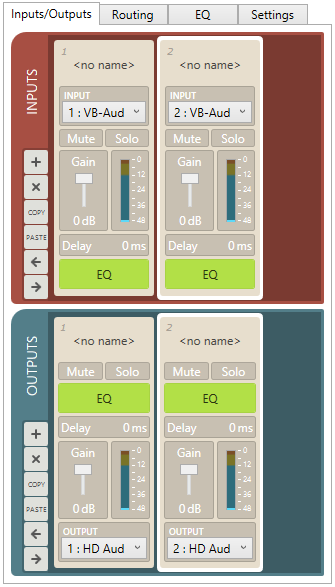
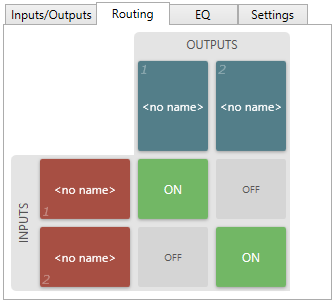
Within EKIO, create the desired number of inputs and outputs in the Inputs/Outputs tab (e.g. two inputs and two outputs) and connect them in the Routing tab.
In the Inputs/Outputs tab, select the input channels "VB-Hi-Fi Audio Cable 1" and "VB-Audio Hi-Fi Cable 2". Select output channels 1 and 2.
-
Start audio processing by clicking the playback button. Save the config if you wish to load it later.

Note
In our example, the input channels are forwarded directly to the output channels without modification. This is not very useful.
Configure EKIO to execute the processing you want. Create the necessary inputs and outputs. Connect them. Set the filters, gains, and delays you want to apply.
For an in-depth description of EKIO, refer to the user manual.